How to use Image to ASCII
Turn a photo into ASCII art: text characters you can copy, or a PNG, SVG or GIF.
A short guide to getting good results, plus answers to the questions people ask most.
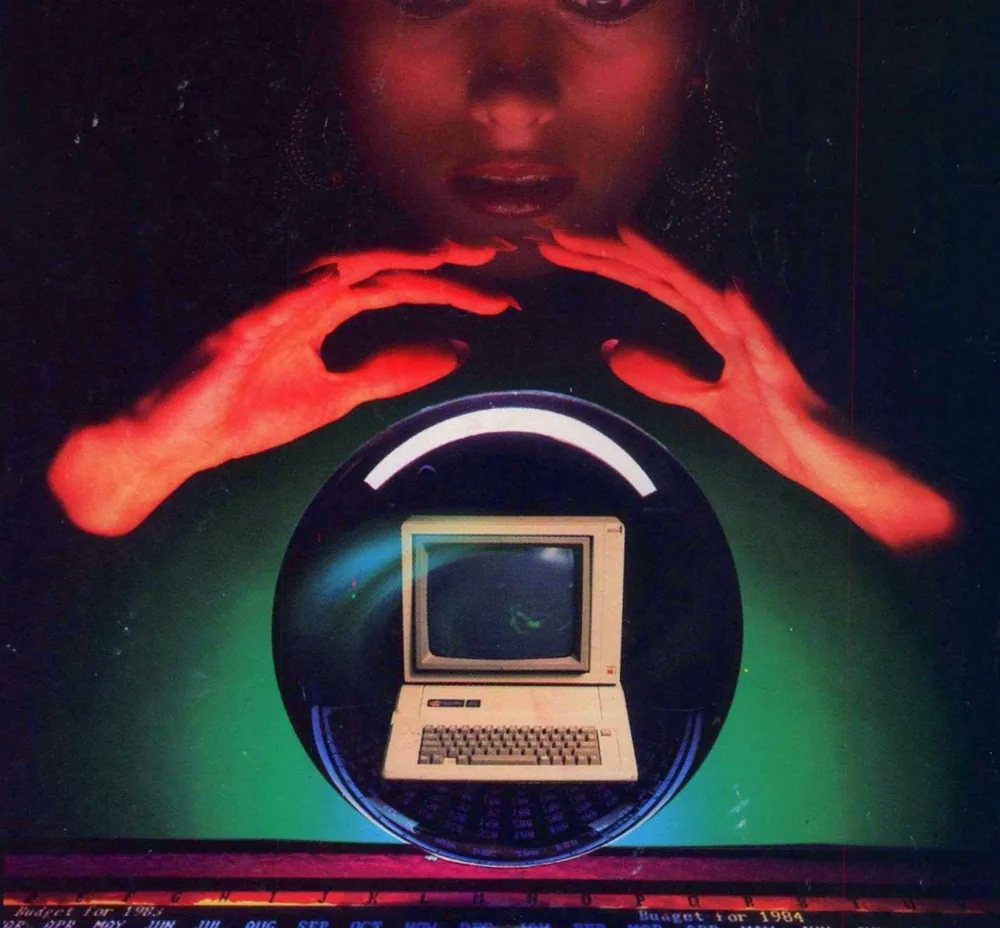
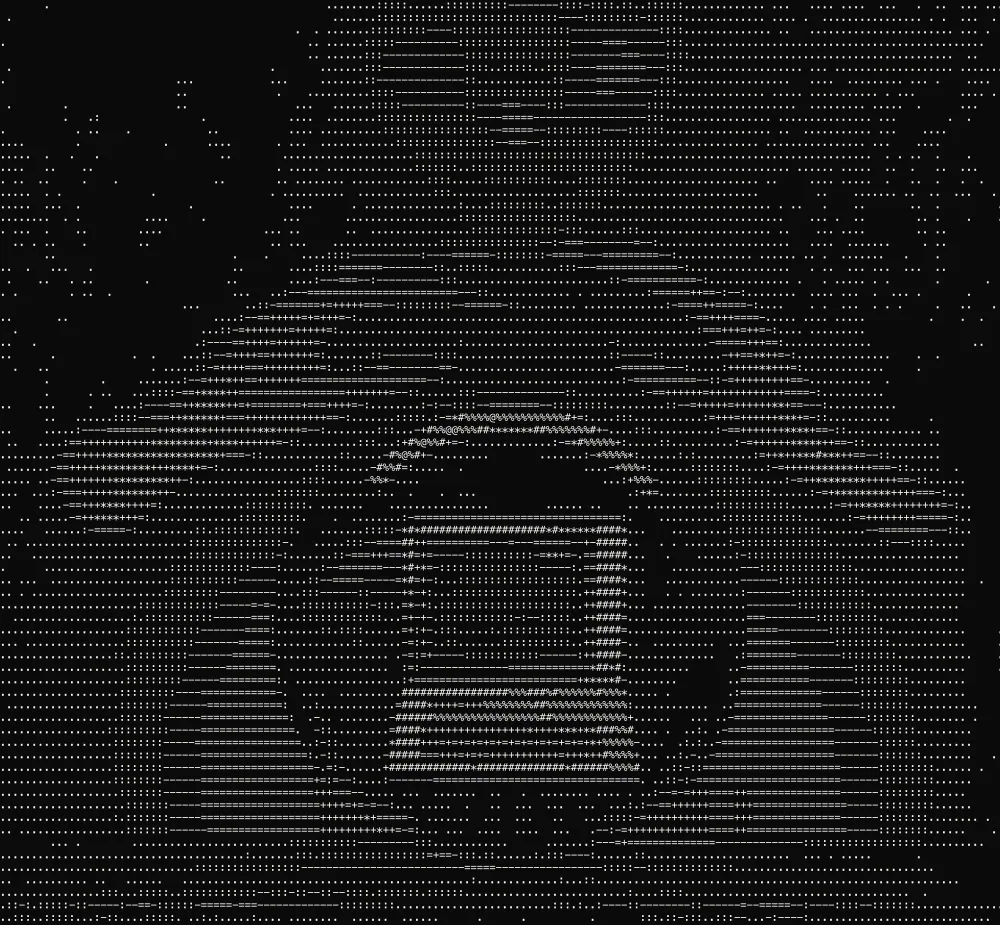
How to use it
- 1
Drop a picture
Drop a picture on the page, or press Browse files. Crop tight first: a face or a single object survives the conversion; a wide scene turns to noise.
- 2
Choose a preset
Under Presets, Classic Mono is the terminal look, High Detail adds a longer character ramp, and Block Art and Braille HD trade letters for shapes. Every preset is a starting point.
- 3
Move Detail (character size)
The number is the size of one cell in pixels. Around 3 gives a portrait enough characters to read; 8 or more makes coarse type you can read as text.
 Detail (character size) 3
 Detail (character size) 6
 Detail (character size) 12
Detail (character size) at 3, 6 and 12 px: the cell size in pixels, so a smaller number means more characters. - 4
Choose a Character set
Standard is the classic ten-step ramp. Detailed has more gray levels, Blocks reads as solid tone, and Minimal gives a hard posterized look.
 Standard
 Detailed
 Blocks
 Minimal
Four sets on the same detail. Standard, Detailed, Blocks and Minimal differ in how many gray levels they can show. - 5
Set colors and Export
Switch Use image colors off for one text color. Then Copy text for a README or chat, or export PNG or SVG where spacing matters, because most places re-flow text.
 Use image colors off
 Use image colors on
Use image colors off and on. Off draws one text color on the background; on paints every character in the picture's color.
About this tool
Drop in a picture and it is redrawn as text, one character per cell, from a classic monochrome terminal look to full color. Presets set the character set, contrast and colors in one click. People use it for READMEs, terminal banners, social posts and retro art.
You get plain text to paste anywhere, HTML with the colors kept, and a PNG or SVG when spacing matters. A clip becomes an animated GIF or video. Everything is drawn in the browser.
Features
Presets
Terminal, print, retro and color looks in one click, each a starting point you can adjust.
Character sets
Classic ramps, blocks, braille, katakana, symbols, or your own characters in order from dark to light.
Animated output
Drop a GIF or video clip and export the result as an animated GIF, WebM or MP4.
Effects
Glow, scanlines, drop shadow, chromatic aberration and noise for a CRT or print look.
Frequently asked questions
Is it free?
Yes. Every feature and every export is free, with no account and no watermark. An account is optional and only keeps your projects so you can reopen them on another device.
Are my files uploaded?
No. Everything runs in your browser and your files stay on your device. The only thing that leaves it is a project you choose to save to your account.
How do I make ASCII art from a photo?
Drop the photo, choose a preset, then move Detail (character size) until the subject reads. Press Copy text or export a PNG.
Why does my ASCII art look wrong when I paste it?
Most places re-flow text or use a proportional font, which breaks the grid. Paste into a code block or a monospace field, or export a PNG or SVG instead.
Can I make colored ASCII art?
Yes. Keep Use image colors on and export HTML, PNG or SVG. Plain text and .txt carry no color.
More tools
Background Remover
Cut the background out of any photograph — right in your browser.
Video Background Remover
Remove the background from a video clip — every frame, in your browser.
Palette Studio
Build a color palette from any era since 3000 BCE — or from a photo, a harmony or by hand — and lay it out as a client sheet with HEX, RGB, CMYK and spot codes, in your own type.
ProDesigner is free for everyone, everywhere. If it saves you time, consider supporting its development.
Support ProDesigner